|
.
|
Diary
2008 - Multiflora & Garden Begonias |
|
 |
Dennis Need
I first made a start growing
things when I was 11 years old, this was a few vegetables during the
war, a few years later breeding fancy rabbits some for showing others
for the table became an interest. This moved on after I was married to
breeding and showing Canaries, after growing Fuchsias I bred a number
which enjoyed a period of popularity probably the reason I still enjoy
trying to develop new varieties of Begonia. |
|
For a long garden display I
think the various tuberous begonias cannot be beaten, and with the
numerous multiflora varieties I have in my collection, this enables me
to do something slightly different every season. With a few pictures and
a few words, I hope to show how I grow and plant my various garden
Begonias, although many growers will do things in a different way which
pleases them and makes some great gardens.
|
|
OCTOBER
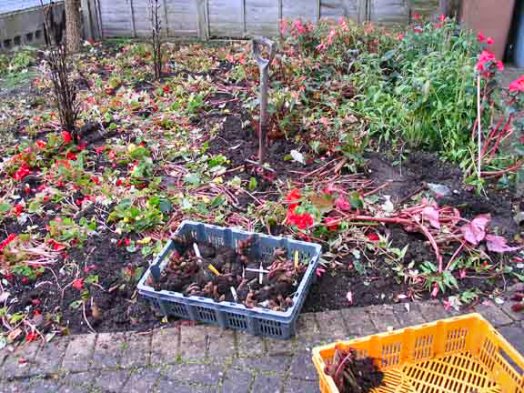
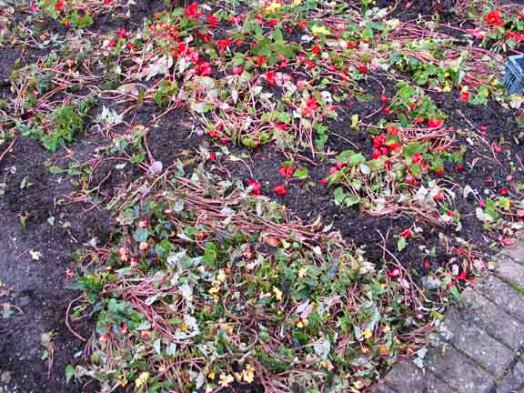
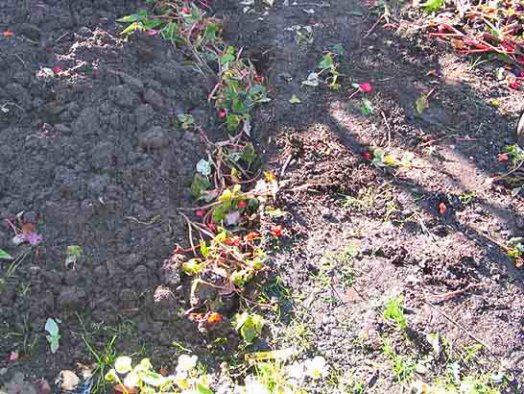
By the middle of the month many of the plants were looking
tired so a start was made taking them up (Image
62); many of the stems fell off as the plants were dug from
the ground. All the foliage was left on the surface
(Image 63), to be dug in as can be seen
in (Image 64), being composed mainly
of water all the leaves and stems soon break down once buried.
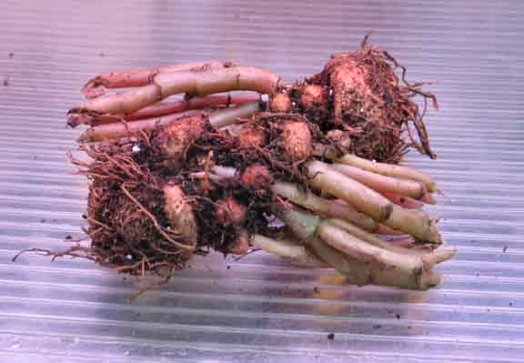
The next few pictures show the benefit of placing plants deeper in
the soil when planting out in the beds, if the leaf axils are covered
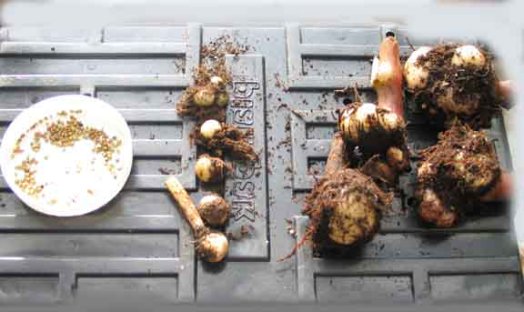
with soil many small tubers are often produced at the leaf joints. The
tubers shown (Image 65) are “Le
Flamboyant” this variety produces more small tubers than other
varieties, but it is still worthwhile planting other varieties deeper as
small tubers are also produced by these. An example of this is
the tubers of “Madame Richard Galle” (Image 66)
many of the small tubers produced can make good plants for beddings out
if they are started off early in February; this gives them a chance to
make decent plants by the end of May. This can be a simple way of
building up stock; and having spare tubers is always a safeguard to
replace any tuber losses during the winter.
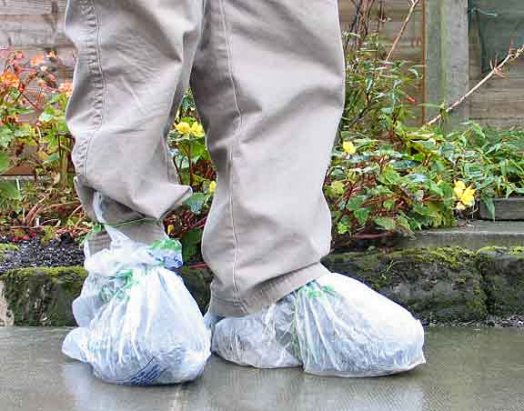
One of the jobs that can take up a lot of time is cleaning ones
boots following walking and digging in the soil, a way to make life
easier is to wrap your boots with a plastic shopping bag.
(Image 67). The bags can sometimes
last for a couple of sessions of digging; they can then be discarded
saving the time it would have taken to clean up your boots.
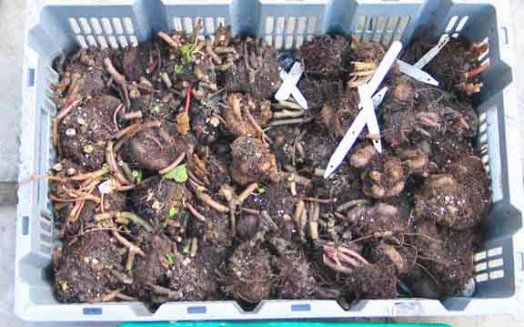
(Image 68) Shows 3 different years
of the Hollyhock begonia, the first part is this seasons bulbils, the
small tubers of the middle group are tubers that have been grown from
last seasons bulbils that came up in the garden. The final group being
tubers from the plants that had flowered in the front garden display, a
number of these have split into more than a single tuber. In some cases
the old tuber has rotted but a new tuber has grown at the side of old
tuber.
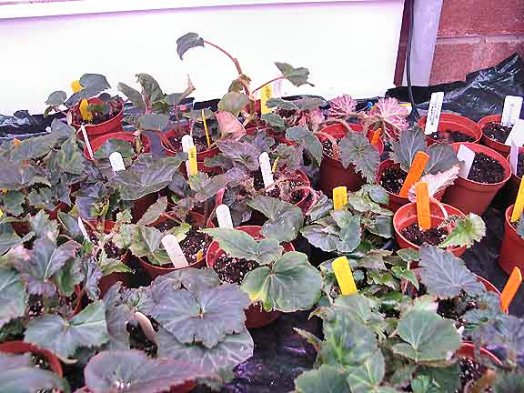
Almost all the garden begonias have now been housed; the tops that
were broken off from many of them are now falling from the tuber a week
after being taken up. This can be seen in the trays of tubers taken up
(Image 69), these are now ready to
clean away the fallen tops and as they dry they can have the compost
cleaned off with a soft brush.
It is a mistake to start cleaning off the old compost too soon as
the tuber skin requires time to harden off, trying to get the job done
early can result in rubbing off the soft outer skin resulting in bare
sections without roots next season. This is a job that will be dealt
with over the next month or so.
There is very little I can add to what has already been written, so
this is the final page of the diary but should any NBS members want any
further information or would like to make any comments, my phone number
is on the help page in the bulletin and I would be very happy to hear
from you. |
|

image 62 |

image 63 |

image 64 |

image 65 |
|

image 66 |

image 67 |

image 68 |

image 69 |
|
. |
|
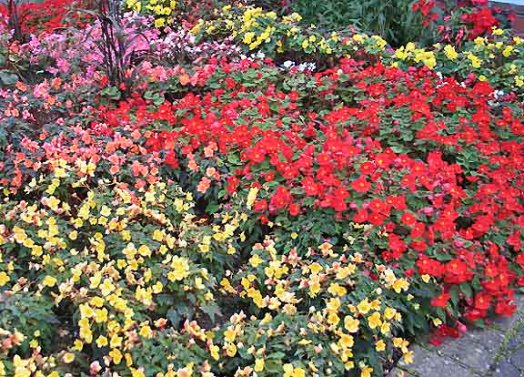
SEPTEMBER
The display in the front garden was badly damaged following the
24 hour period of heavy rain we had in the North West in the early part
of the month. The taller plants at the rear of the display (some had
reached 3 feet), (image 52) and many
of the Hollyhock begonias (image 53)
collapsed with the excess water on the foliage. I had thought of tying
many to canes early on, which shows you should get on with such jobs
when you think of them. Even “Yellowhammer”, which is a more compact
variety, has some damage, but in spite of these setbacks there is still
a lot of colour to be seen. The plants are now thinning out with the
shorter day’s (image 54) and start
their final period of growth, now switching to tuber development; the
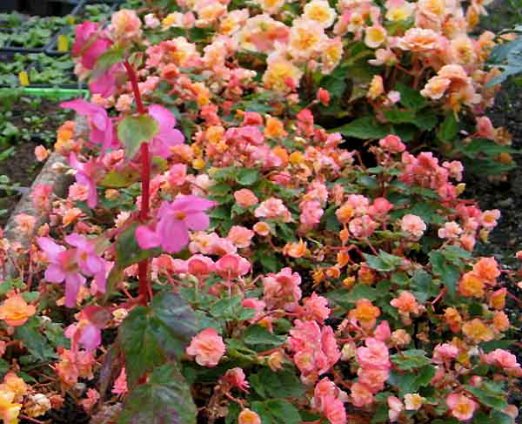
top growth will eventually yellow and finally die back. Le
Flamboyant is still looking very colourful
(image 55) and as usual at this time of the year mildew
began to show, another treatment with a fungicide eliminated this very
quickly.
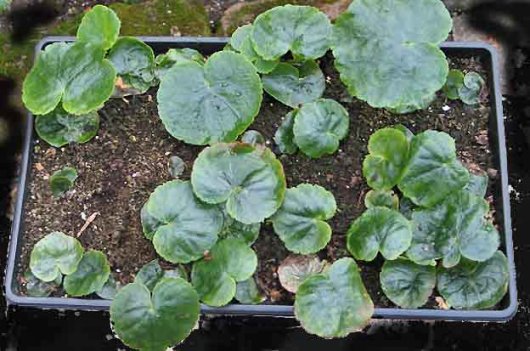
The bulbils are now developing quite fast on Begonia; gracilis martiana
(hollyhock begonia) and fall all over the garden, many will grow the
following season some even flowering as the next image shows
(image 56). I have collected quite a
number that had started into growth, these have been planted in seed
trays (image 57) to grow and develop
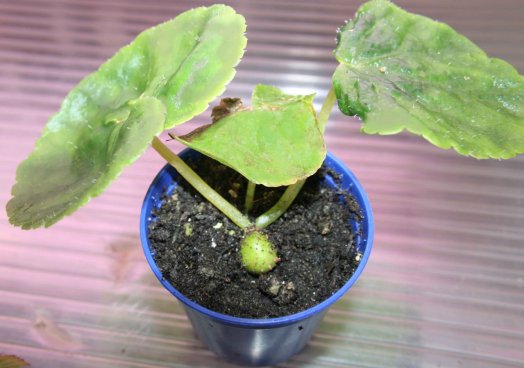
their tubers for planting out next season. A few are showing tuber
development at the base of the foliage (image
58), they should make good flowering plants next summer much
better than growing from bulbils in the spring, as they are stronger and
taller coming into bloom earlier. They have even been transported in
some old compost I take to my youngest Daughter in Milton Keynes to
improve her soil, they have grown and flowered there by August.
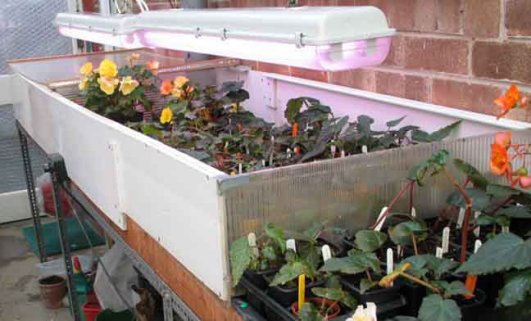
With the days now being shorter, lights have now been fitted over the
heated propagating bench, (image 59)
they are required to root and grow some cuttings through the winter.
These being taken from selected seedlings, this is to safeguard the
variety against the possible loss of the seedling tubers during the
winter. I also take cuttings of varieties that need increasing for
use as mother plants, cuttings from these in late winter can be flowered
next season. Ensuring a minimum of 14 hours daylength will ensure that
growth will continue through the darker days of winter, this amount of
daylight is also required for the cuttings to root
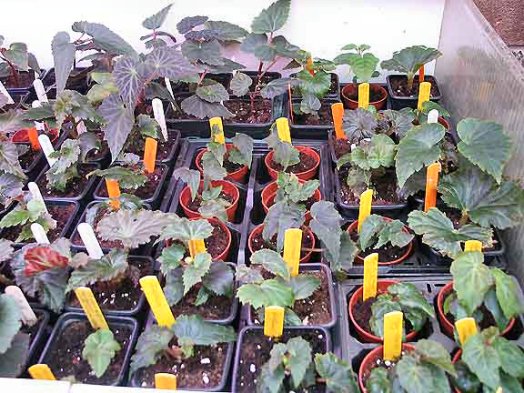
(image 60). Rooting with the
normal autumn short daylength results in the base of any cuttings
started to develop a tuber rather than roots, but once moved under
lights root growth becomes normal. Many of the cuttings recently rooted
will continue growth through the winter, but the strongest may be taken
from beneath the lights later to die back to the tuber in the usual way.
(Image 61)
Another long job that will hopefully ensure that tarsonamid mite does
not survive through the winter, is to spray all the plants and cuttings
with a mineral oil and washing up mix. Speaking to Ralph Willsmore in
Australia last week he told me that the formula he uses is 100 mil oil
plus washing up liquid to 5 litres of water, as I am not trying to cure
an infection but using it as a preventative, 50 mil is the amount I am
using. The Ambyselius mite will still be applied in the spring to kill
off any that could cause a problem next season. |
|

image 52 |

image 53 |

image 54 |

image 55 |
|

image 56 |

image 57 |

image 58 |

image 59 |
|

image 60 |

image 61 |
|
JULY & AUGUST
MAY & JUNE
MARCH & APRIL
OTHER PAGES BY DENNIS NEED
RECENT & NEW BEGONIAS FOR 2009
Multiflora Begonias
Begonias in the Garden
Basket or
Pendula Begonia Cultivation
Basket Begonia Gallery
Multiflora Begonias Gallery |
TOP
OF PAGE
|