July
Last month I finished my diary by covering final potting and explained
the relationship between that and stopping dates. This month I do not
intend to cover stopping dates (time that it takes from a bud measuring
approximately one and one eighth of an inch across the oyster to
reaching full size) as these can vary immensely depending on location
and temperature but I will explain the process of securing the bud.
Before we do anything, we must be satisfied that the plant has reached a
stage in its development whereby it is capable of producing a quality
bud(s). As a grower it is important that we are able to recognise when
it reaches this stage but unfortunately this knowledge only comes with
experience, however, as a “rough guide” most plants reach this stage
after the production of the third bud. There are always exceptions to
the rule and some are not ready until at least the fifth or sixth bud
producing what is known as foliar petals on previous buds. Some perform
better with two buds left on the plant as the second bud can assist in
the removal of some of the inherent coarseness of the bloom or simply
that the plant is strong enough to produce two quality blooms at the
same time. Notwithstanding this an earlier or later bud can still
produce an excellent bloom provided that the plant is growing well.
Stopping a plant/Securing the bud
Before stopping and securing a bud(s) you must first make the decision
as to whether or not you want the plant to flower naturally by
continuing to produce flower or if you want to restrict the flowering
period in order to obtain superior flowers over a much shorter time
frame. If you chose the first option then no action is required,
however if the latter is chosen,
in order that a bloom or blooms on a plant can reach its/their full
potential the grower must remove the growing point or points of the
plant. By stopping the plant all of it’s
energy will be channelled into the production of a restricted number of
blooms and in theory the fewer the number of blooms the larger and
deeper they will be.
If for example we look at a plant grown as a single stem then this is
possibly the easiest to use as an example although multiple stems can be
treated in the same manner. Stopping the plant is achieved by either
removing the growing point immediately above the selected bud(s) or
alternatively immediately above the first leaf above the bud(s). If the
former method is used then the bloom stem will become the main stem of
the plant and if you are growing a single stem plant with one bloom you
will have no option but to secure the bloom to the cane as the stirrup
of the bloom support will be too small to be of any use.
On removal of the growing point you should now be left with two bracts
from which a developing bud is emerging (male bud) and for the purposes
of timing it should measure approximately one and one eighth of an inch
across the oyster. The further that this bud emerges from the bracts the
more it will become apparent that it is flanked on either side by a
smaller bud (usually female). Both the bracts and side buds are not
required and in the case of the bracts can be removed but in the case of
the side buds must be removed, if left, they will be grown to the
detriment of the main male bud. Personally, I remove the bracts and side
buds at the same time as I stop the plant but I would not recommend that
you do this until you are super confident as, in order to achieve this,
you have to peel back the bracts, locate the two smaller buds, remove
them and complete all of this without causing any damage or bruising to
the male bud. If by accident you damage the bud or heaven forbid knock
the bud off then you will be unable to recover the situation (they
cannot be glued back into position).
Feeding the plant and bud.
With the exception of a half strength feed of calcium nitrate my single
stem plants have not received any additional feeding. It is from this
point through bud selection and up until the oyster is about to open
that I tend to give them one full strength feed of a balanced fertiliser
once per week. This can be given in one sitting or alternatively several
sittings over that period. If the weather were to change and we were to
experience high temperatures then I would consider changing to a
balanced or high nitrogen feed. As the oyster starts to open, I simply
change to a high potash feed again feeding full strength over the same
period. I find that if you keep everything simple things are less likely
to go wrong. For the purposes of showing cut blooms then ten days prior
to the show date I would give one full strength feed of 0.10.10. in
order to further harden the bloom. No further feeding is required. This
has served me well, simple, but effective.
Time permitting, I will attempt to produce a second part to July’s diary
covering the work as it is carried out on the pot plants leading up to
and including securing the buds. Please remember that I am a total
novice in this aspect of growing and I have no doubt that mistakes may
be made.
Description of
Photograph
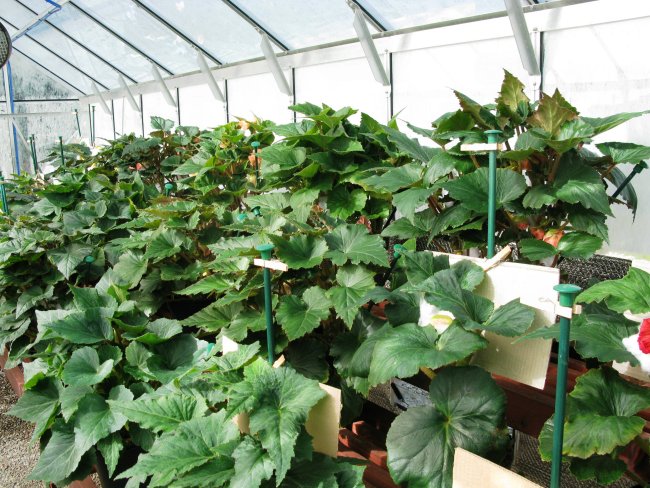
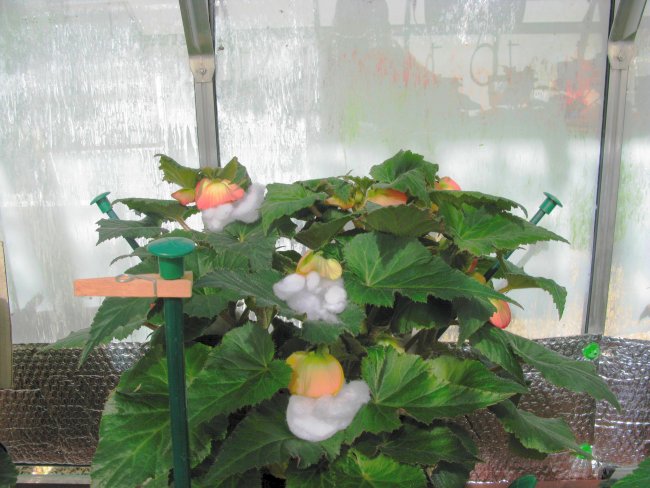
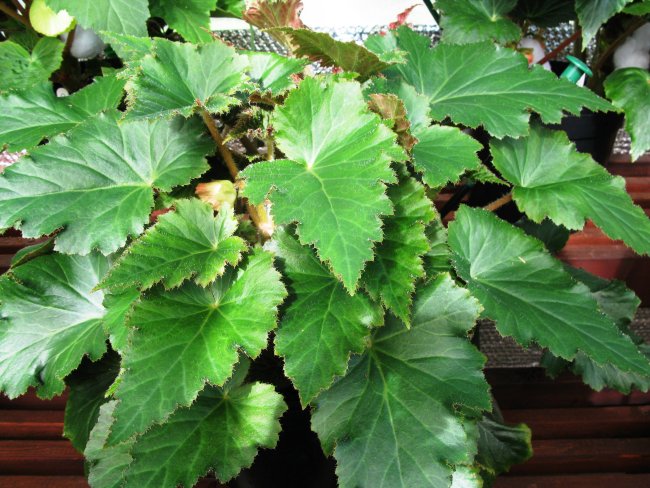
01
General view of pot plants.
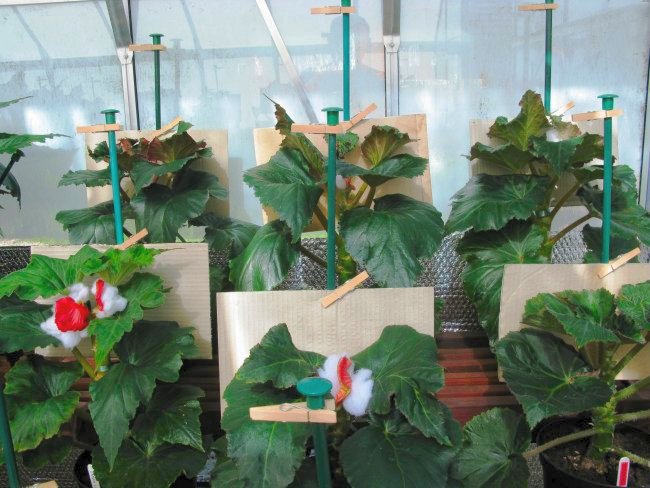
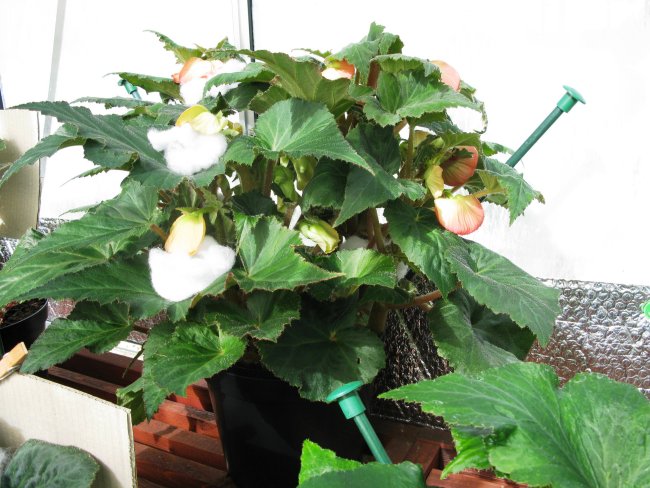
02
General view of cut bloom plants.
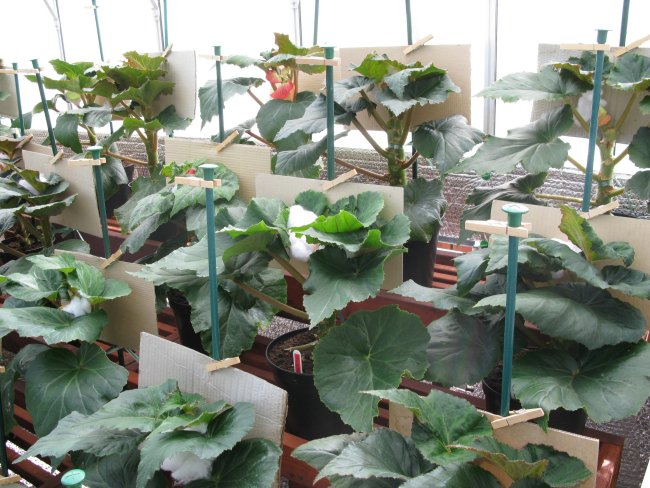
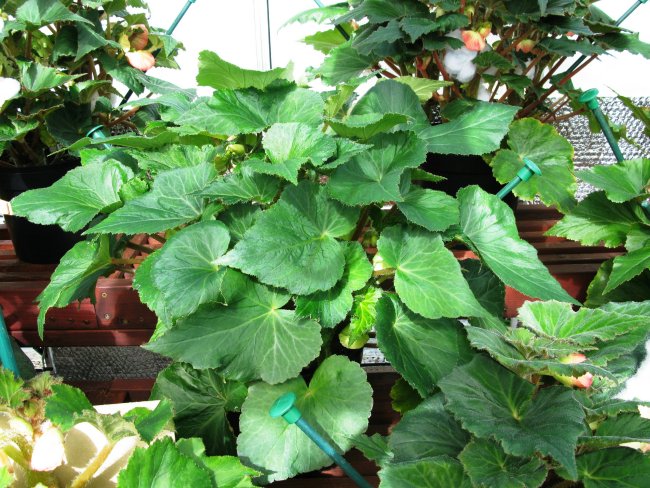
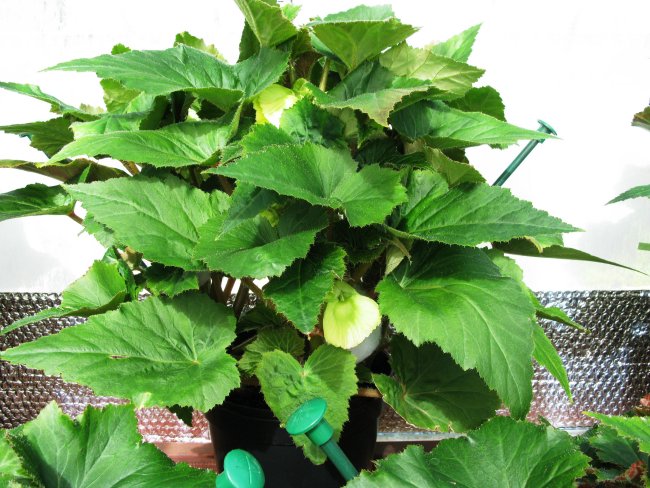
03
and 04 Views of individual cut bloom plants.
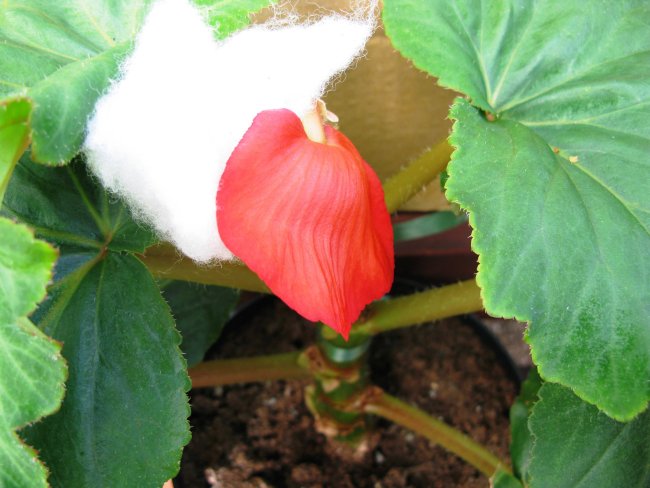
05
Closeup showing a bud with a lot of substance.
06
Single stem with side shoots (Apricot Delight)
07
Pot plant. Front Moira Callan- rear Tigger (three cutting tubers)
08
Same plant taken from the side showing position of coloured buds.
09
Pot plant of Sweet Dreams (two cutting tubers)
10
Pot plant of Charlotte (single adult tuber)
11
Pot plant Eva Grace (single cutting tuber)
12
Pot plant Tigger (single adult tuber)
.