2016 Diary Episode 2 Concluding the 2015 season.
Saturday 12th
December -
I went through all my tubers that had been de-scabbed and treated
with sub-limed sulphur and –
1. Gave them a final brushing off.
2. Cleaned the name label using baby wipes – this cleans them up a
treat.
3. If the name on the label is fading, I re-write the name on in
pencil.
4. Finally I “attach” the label to the tuber via an elastic band.
5. Then they are placed in large plastic trays – side by side – I do
not stack them on top of each other.
6. Then the trays are taken to my mothers and stored in a spare room with
no heating on.
I just have about
40 tubers left to dry and de-scab – then it’s all cutting tubers.
Saturday 19th
December -
Today I finished off de-scabbing my tubers, they were then put in
single layers in plastic trays.
All my tubers were then stored in a spare bedroom with the radiator
turned off, so they are kept frost free and safe.
That just leaves my cutting tubers in their pots, hopefully still
developing.

.
Sunday 20th December –
Cutting Enigma final entry – as you can see from the picture to
the left this pig headed cutting did finally produce a cutting tuber
after two years of trying.
Saturday 26th
December –
What I do next will properly come as a shock to a number of growers
–
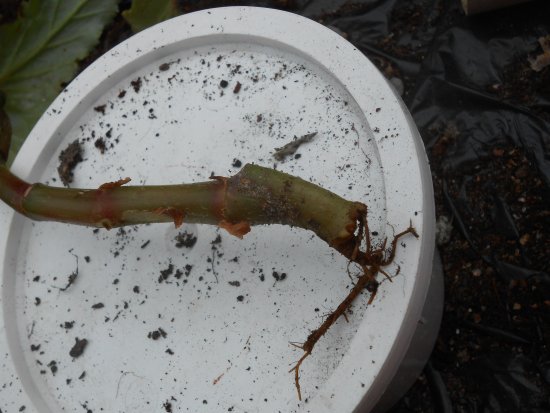
• I go through any cuttings that still have a stem and foliage on
and give the stem a “feel” to see if there is any sign of tuber
production underneath. If there is none I just throw the stem with
roots attached away (see picture to the right as an example).
underneath. If there is none I just throw the stem with
roots attached away (see picture to the right as an example).
Why do I do this!!!!
• I don’t want to carry any “greenery” into the next year – I could
be carrying “problems” over to the new growing year if I do.
• I am not short of these plants, if I am short of the odd variety
then, I “rent” my daughters window sill off her to keep them growing
on through the winter.
So now in my
propagating greenhouse I either have –
• cuttings whose stems have come a way.
• Cuttings with stems etc. attached but with a cutting tuber.

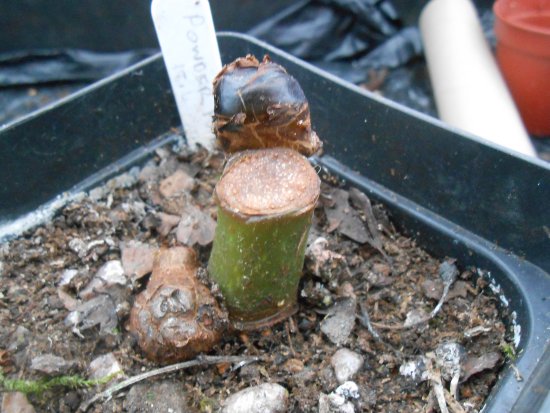
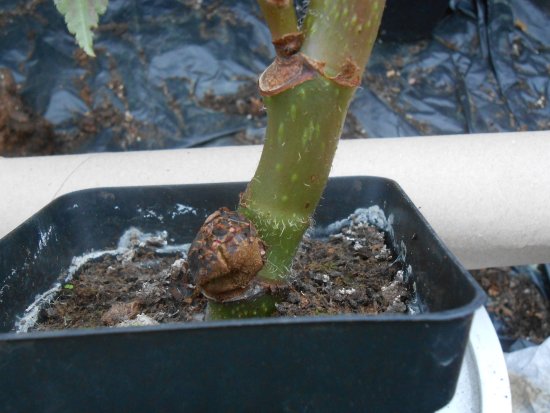
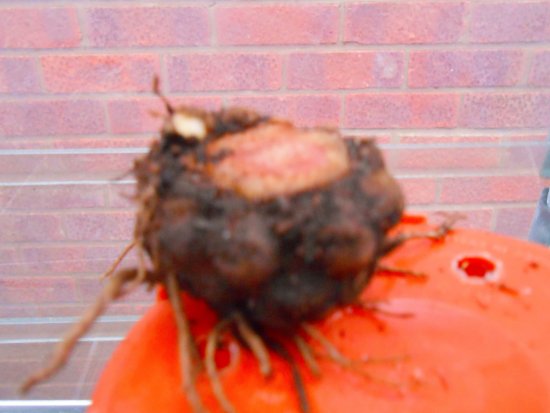
 As per normal I
have a number of cuttings which have decided to develop a cutting
tuber above the “soil” level as you can see by the pictures to
the right and left.
As per normal I
have a number of cuttings which have decided to develop a cutting
tuber above the “soil” level as you can see by the pictures to
the right and left.
Why they do this I do not know – but I was once told that it was
down to a cutting being planted too “deep” – whether this true or not
I don’t know….
 .
.
Saturday 26th
December (Boxing Day) – Overnight we suffered from one of the
heaviest rainfalls ever experienced in our area. They officially
called the storm Frank. As you can see from the pictures to
the left and right, the River Roach that runs through Heywood has burst
its banks.
in our area. They officially
called the storm Frank. As you can see from the pictures to
the left and right, the River Roach that runs through Heywood has burst
its banks.
Saturday 2nd January 2016 – Time to get my main greenhouse ready for
the start of the new season.
• For now that means all my plant pots are sorted into types ready
to be washed.
• All the staging is given a good brushing and then stacked on top
of the top tier.
• All the fleece is taken down and discarded – as it’s been used for a
number of years and has started to breakdown and perish.
• Then the floor is given a good brush out.
Then I will use this space to –
•Stack my pots on the staging after washing and
drying them out.
• Mix all my homemade multi-purpose compost.
Then finally the greenhouse will be –
• Jet washed inside and out.
• Disinfected inside and out.
• Finished off with a couple of sulphur candles..
Tuesday 12th
January – I started to take the cutting tubers out of their pots
Thursday 14th
January – I finished taking the rest of my cutting tubers out of
there pots.
Then I went through them all –
• Gave them a good brush off and checked for any signs of rot..
 • Also checked for any “critter” attacks (thankfully I found no sign
of Vine Weevil)
• Also checked for any “critter” attacks (thankfully I found no sign
of Vine Weevil) .
.
.
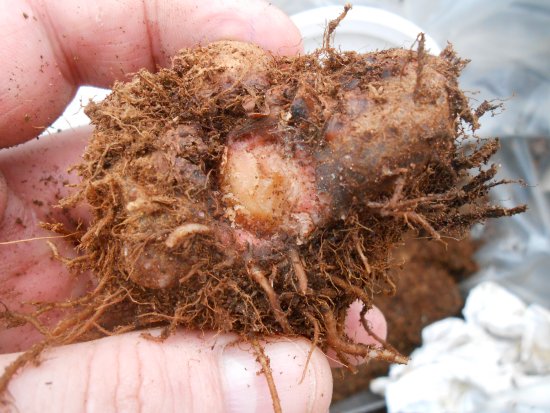
Once I know the cutting tuber is “sound” –
• I then take off any last sections of stem that are still attached –
see pictures to the left and right.
• The rest I de-scab as normal – I know other growers don’t de-scab
cutting tubers but I always have
– they don’t really have a scab
like an adult tuber but a hard layer of “skin” as you can see by the
pictures below.
.

To finish
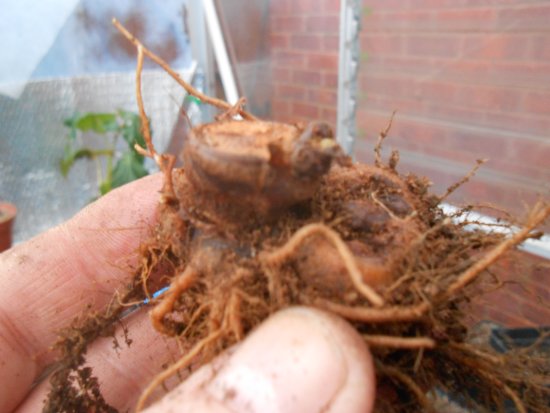
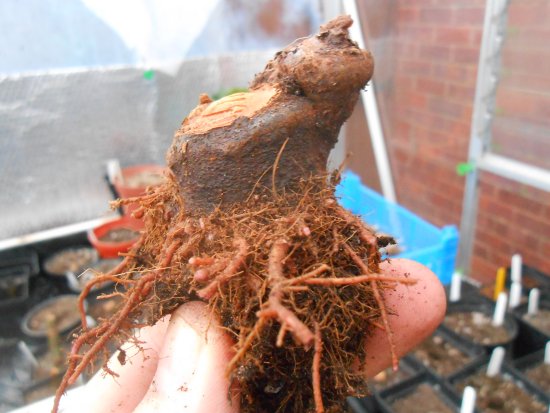
Some other “types” of cutting tubers I have encountered –
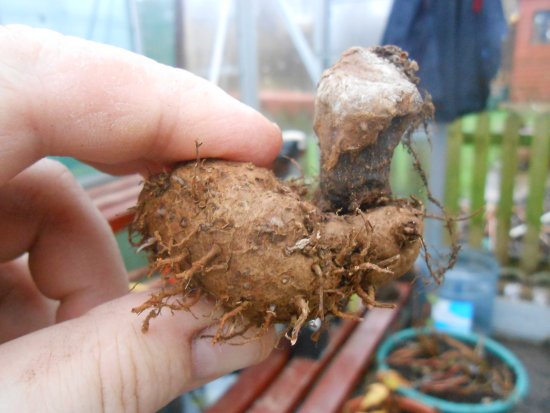
The “tree trunk” -
This type of cutting tuber that looks like there is a last section
of scab between the top of the medium and a cutting tuber beneath
the surface. And when you waggle it a little it feels solid, to the
point that you would swear there was a tuber under it.
surface. And when you waggle it a little it feels solid, to the
point that you would swear there was a tuber under it.
However when you take it out of the pot all you find underneath the
stem is root!! As you can see from the picture to the right.
When this happens it really “irks” this grower.
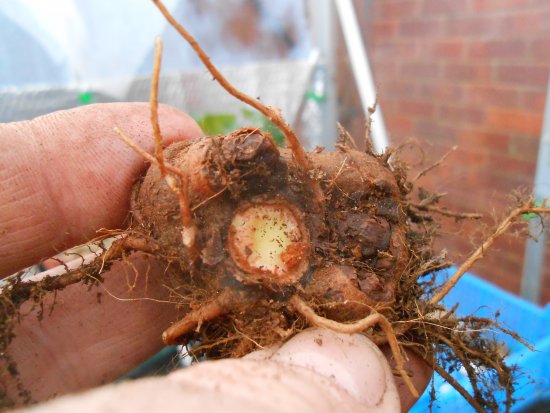
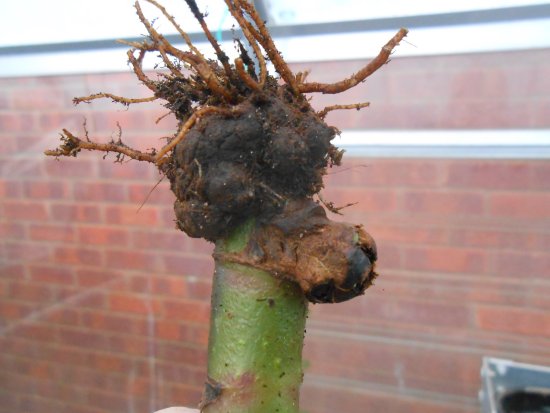
The “Drum Stick” –
 This type I come across now again and is when the cutting tuber has
a long length of stem still attached hard and fast
This type I come across now again and is when the cutting tuber has
a long length of stem still attached hard and fast to it.
Now this may sound a bit brutal to some growers but I get a very
sharp knife and gently cut the stem off at the base, just as it
meets the tuber as you can see by the pictures to the left and
right. This is just because I don’t want to carry any “growth” into
a new growing year.
I then just dry the wound as normal and then dust it with
sulphur.
When you start up this cutting tuber it will just pip and start as a
“normal one”
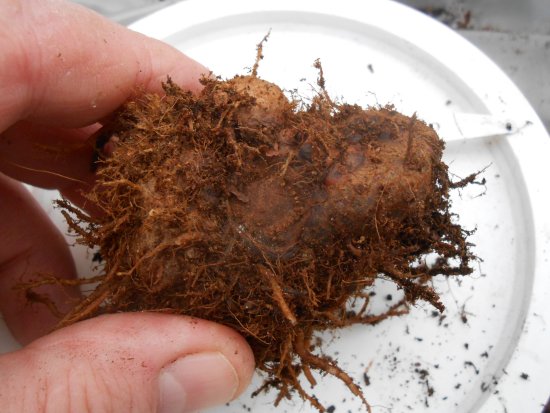
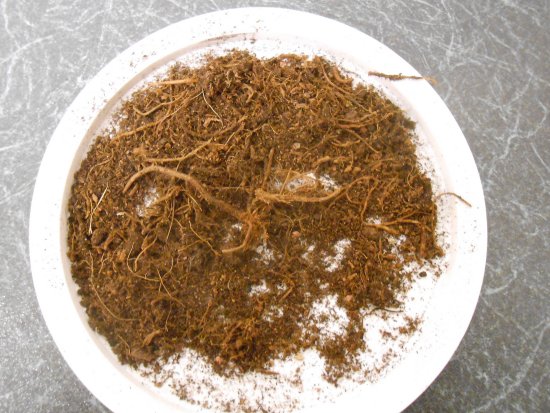
The “Sherlock Holmes and the case of the disappearing cutting tuber”
–
Of all the issues I have with cutting tubers this case is the most
intriguing. It is when your stem comes away from what you would
expect to be some sort of cutting tuber so you just put the pot to
one side and leave it so to speak until you are ready to take the
cutting tuber out and repot to start them up again.
But when you come to take it out all you find is root and no sign of
a tuber, nothing at all (and no, it was not eaten by a vine weevil grub). As
if by magic it had disappeared into thin air…. Baffling – see
picture to the right.
Well that’s me done
for another growing year, and more than ready for the challenges
that Mother Nature will no doubt try and throw my way this year.
Until next time.