2016 Diary Episode 5 Germination – The memoirs of this
growers first attempts
Cleaning the seed –

Now I am going to
use the method demonstrated by James Evans in his “Hybridizing
Presentation” to clean the seed.
seed.
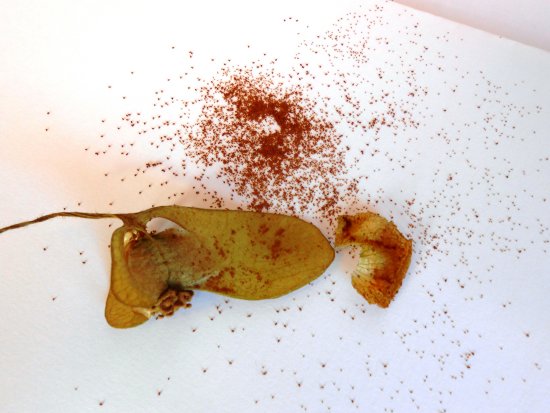
1. First I need some sheets of white paper.
2. Then I empty the seed from the seed pod onto a piece of
paper (see picture to left).
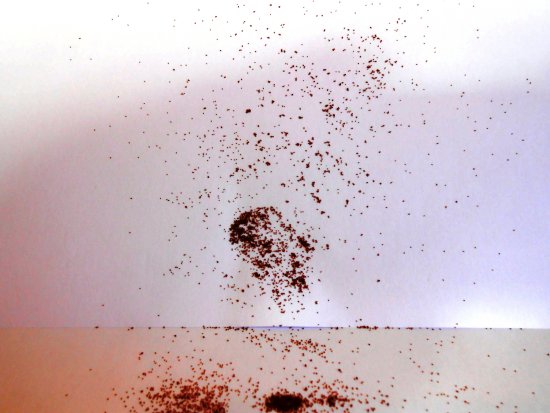
 3. Then I tip the paper to an angle of 45° as you can see by
the picture to the right.
3. Then I tip the paper to an angle of 45° as you can see by
the picture to the right.
4. The theory behind this is that the chaff will stick to the
paper and the seed just rolls off onto the piece of paper under it
as shown by the picture to the left.
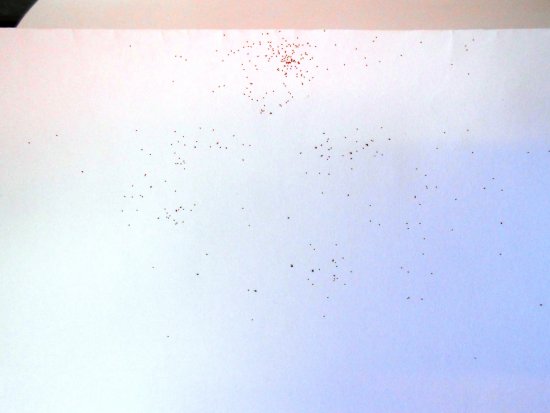
5. I do this 3 to 4 times or until I am happy that the seed
is “clean” (see picture to the right).
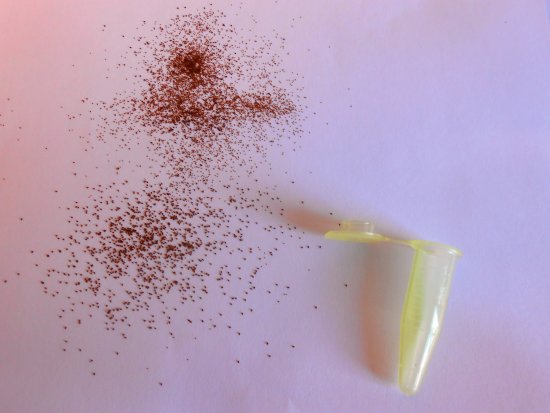
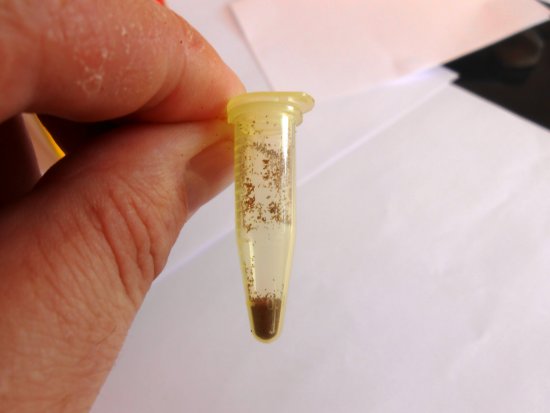
6. Then I store the seed in a plastic vial.
7. Now all my seed has been cleaned and stored in plastic
vials ready for use at a later date
 (see picture to the left).
Observation -
When I tipped the sheet of paper up I found that when the seed
rolled down and off there was not a lot of “chaff” left on the
paper. Wether the paper was too refined and not rough enough I
don’t know.
Sowing –
Tuesday 19th
January -
 Now I had to improvise a little at this point as I never had any
seed compost to hand, so I did the following –
Now I had to improvise a little at this point as I never had any
seed compost to hand, so I did the following –
1. I mixed multipurpose compost and horticultural washed sand
to a 50 50 mix. This should help knock the multipurpose compost back
a bit as you can see by the picture to the left.
multipurpose compost back
a bit as you can see by the picture to the left.
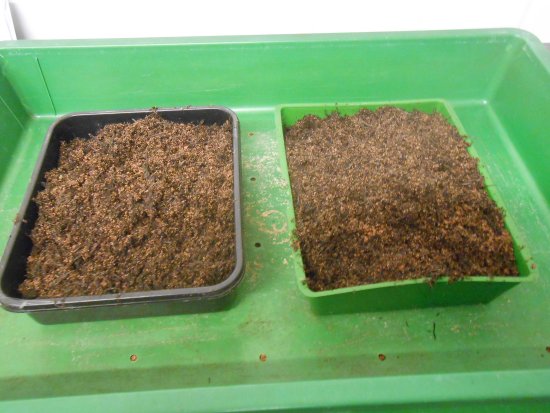
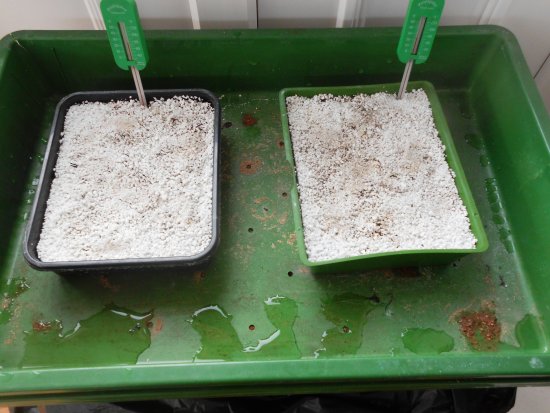
2. I filled a couple of seed trays with the mix
3. Then I tamped the above mixture down and levelled it out
(see the picture to the right).
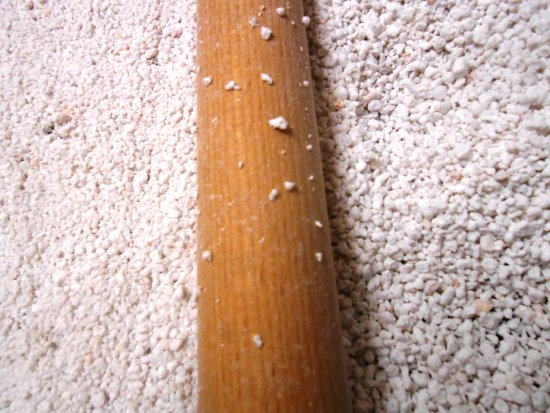
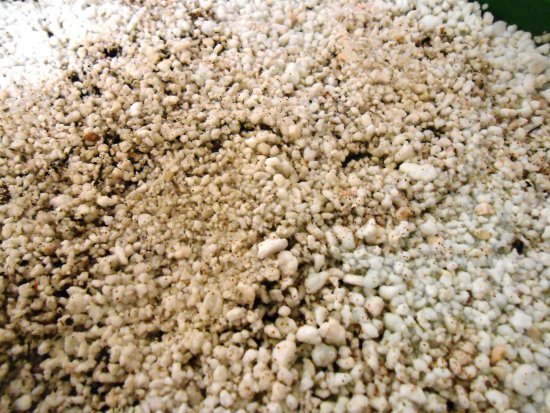
4. The perlite I have is Sinclair’s medium grade so to help
reduce it in size I put some perlite
 on a flat surface and using a
wooden rolling pin I reduced its size by rolling it out (see picture to the left).
on a flat surface and using a
wooden rolling pin I reduced its size by rolling it out (see picture to the left).
Warning - Make sure your wife / partner doesn’t see you doing this
with a rolling pin or you will be in whole lot of trouble…..
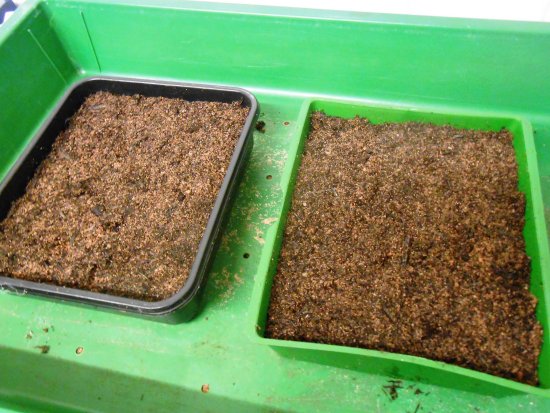
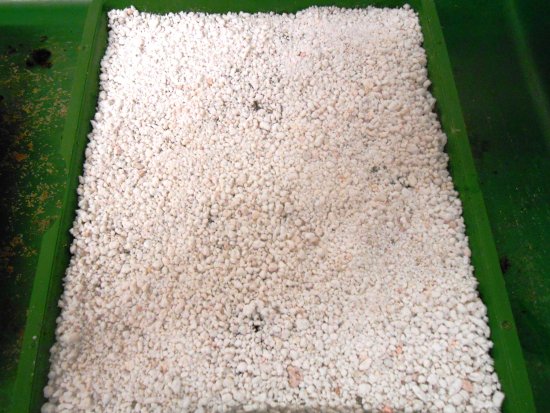
5. Then the perlite is layered and levelled then tamped down
on top of the compost & sand mix (as shown by the picture to the
right).
6. Finally it gets watered in with Cheshunt compound – to
help prevent the issue of damping off.
 At
present I am not using any of my greenhouses as there is no heat in them
and they are in the process of being cleaned out and disinfected
down one by one. My propagating greenhouse will be full of my adult
tubers soon so I will have no room to rig up any makeshift growing
light unit.
At
present I am not using any of my greenhouses as there is no heat in them
and they are in the process of being cleaned out and disinfected
down one by one. My propagating greenhouse will be full of my adult
tubers soon so I will have no room to rig up any makeshift growing
light unit.
So I am using a Sankey propagator to put the trays of seed in, then
I am going to stand the propagator in my conservatory as you can see
by the picture to the left.
That is now reaching the desired temperature that I need it at in
readiness for sowing.
Wednesday 20th
January -
I had a hospital appointment today and afterwards I
called into 2 “so called” Garden Centres on the way home, and could
I find and get any silver sand…. No!! But I could have bought a
parrot or sofa. How times have changed – in fact I do not know why
they call them Garden Centres as they sell more “tat” (as my Father
use to call it) than products that gardeners actually want.
That meant I had to sow my seed using no silver sand, but I had an
idea how to sow it evenly.
My “seed compost” had reached the targeted temperature of 70°f that
meant I was ready for sowing the seed.
My chosen crosses to try first are –
• Joan Bryce over Tequila Sunrise – The whole idea behind
this cross started my hybridising journey
• Alana Hamilton over Tom Brownlee – I cannot explain why but
this cross is the one that has got me all excited – well we will
see.
 So I had my “seed compost” ready and up to temperature and my seed
ready.
So I had my “seed compost” ready and up to temperature and my seed
ready.
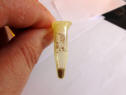
I emptied some seed onto a clean piece of paper and holding the
paper and seed in one hand and a sharp knife in the other I gently
flicked the seed from off the paper and spread it pretty evenly over
the surface of the seed compost (see picture to left).
Then placed both seed trays back into the propagator in the
conservatory, fingers crossed the seed is viable.
I have a silent
partner in crime north of the border growing some seed from the
Burnout over Tom Brownlee cross, and guess what, that seed has
germinated!!!.
Wednesday 27th
January –
No signs of life in either tray yet – early days but I am starting
to get twitchy feet.
On a daily basis
-
Every day after work I checked the perlite on top of the trays to
see if it was getting dry – and if so then it
got a spray of water to moisten it and damp it down. The lid on the
propagator has a pitched roof so any condensation that rolled down
the sides of the roof to the edges of the lid and down the sides.
This will hopefully prevent condensation dropping on the seedlings
from above and contributing to the problems of “damping off”
Thursday 4th February –
On checking the seed trays when I got home from work I found a small
green something in the tray with the Alana Hamilton over Tom
Brownlee cross in.
Was it a trick of the light, a figment of my imagination or even a
mirage I do not know, just as I was beginning to fear the worst with
every passing day.
Thursday 11th
February –
It is 23 days since sowing the seed and with the aid of a good
magnifying glass I can see the odd speck of greenery starting to
appear.
If I am honest I thought they would have been well away by now,
however when you take into consideration they are stuck in a corner
of a conservatory with no additional lighting I suppose I cannot
really complain.
Sunday 21st
February -
I can still see bits of greenery but they seem to have stopped
growing, it’s just like they are in suspended animation (that’s the
SC-Fi side of me coming out).
So out of sheer desperation more than anything I turned the heat up
higher so it’s now touching 80°f / 27°c and not 70°f / 21°c.
On the bright side they have not died off….
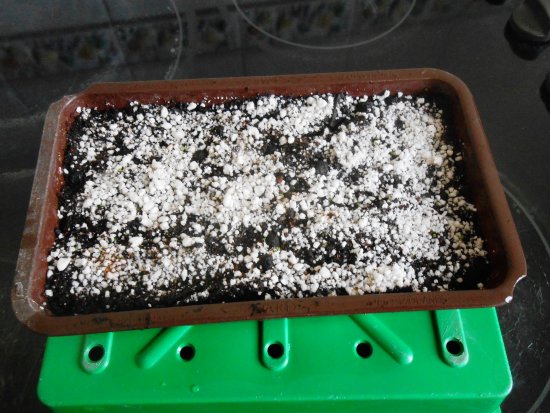
 Airing on the side of caution I sowed the last of the John Bryce
over Tequila Sunrise cross in the same way as I did the other.
However this time I used a seed tray half the size and cover the top
with a plastic lid I “borrowed” off the top of a Tupperware Pot,
then sat it in the Sankey propagator with the other 2 trays and left
them (you can see by the picture to the left).
Airing on the side of caution I sowed the last of the John Bryce
over Tequila Sunrise cross in the same way as I did the other.
However this time I used a seed tray half the size and cover the top
with a plastic lid I “borrowed” off the top of a Tupperware Pot,
then sat it in the Sankey propagator with the other 2 trays and left
them (you can see by the picture to the left).
Observation - I was tempted at the start of the year to buy a
propagating unit from a well-known horticultural catalogue – this
propagator had x2 grow lights built into the lid/roof.
Next year I am going to treat myself to one.
Sunday 28th
February –
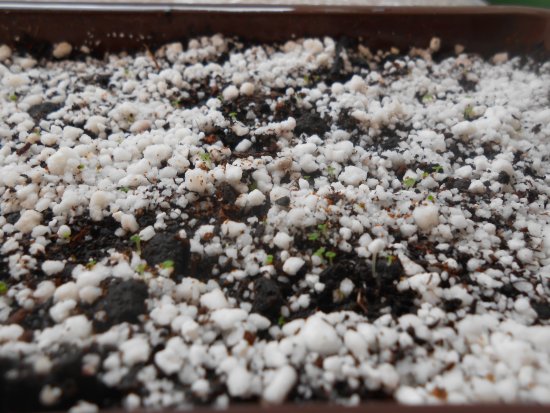
Starting to see some seeds germinating now, at last there seems to
be movement.
Wednesday 2nd
March -
 As you can see by the picture to the left the seeds I sowed on
21st February are starting to germinate after just 11 days!!!!
As you can see by the picture to the left the seeds I sowed on
21st February are starting to germinate after just 11 days!!!!
So I covered the original 2 seed trays with Tupperware Lids, to try
to “help” them along a little.
Observation –
I thought trays of seed sat in a Sankey propagator unit with the
lid on would be enough to generate enough heat to germinate the
seed. However I have found it’s not worked for me. So next year I
will properly cover the trays with little lids to create a
micro-climate inside the propagator. But who knows what will happen
if I purchase a propagating unit with built in grow lights in the
lid.
The day I saw the light –
Sunday 13th
March –
It was 07:15hrs and we were collecting Robert Bryce on our way to
Scotland and another day north of the border. Before we left Roberts
he kindly invited me into his propagating greenhouse to show,
explain and answer a question I had asked him earlier in the week -
More about that in the next instalment. As he was telling me
something I casually said that I sprayed the top of my seed trays
with a fine mist of water just to keep the Perlite from drying out….
No - came the reply “you don’t water or mist spray any seed from
above” I tried to protest my innocence in what and why I was doing
it for, but to no avail.
Robert explained that any “liquid” from above at this stage could
cause Damping Off….
Now if you remember I soaked the medium in my seed tray with a water
and Cheshunt Compound – so it seems in one way I have tried to
protect them – and in another way I have tried to kill them with too
much pampering that could have resulted in Damping Off.
No wonder they have stood still as I have baffled the poor things by
trying to kill and cure them at the same time!!!!
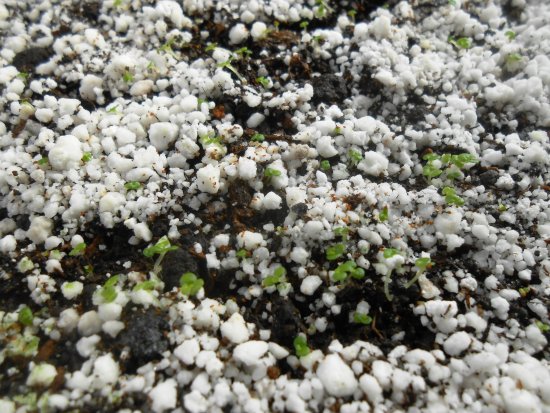
Monday 14th
March –
 As you can see by the picture to the left the seedlings I sowed on
the 21st February are well away now.
As you can see by the picture to the left the seedlings I sowed on
the 21st February are well away now.
The 1st 2 batches that I tried to kill are still showing specks of
green but do not seem to want to move at present (just glad they are
still there after what I have done to them).
Next Instalment -
Pricking Out and Potting Up.
Until next time