Episode 18. Staking and Tying.
Saturday
11th July – Plants for the National Championship
Today I started taking the side buds from either side of the main bud,
some growers take them off
 when they are a lot smaller however my hands
don’t do delicate so I wait until they are a little bigger.
when they are a lot smaller however my hands
don’t do delicate so I wait until they are a little bigger.
I do this in x2 stages –
Stage 1 taking the bract off from the back of the flower.
• Why do I take the bract off the plant – because I find that it can get
in the way when packing your bloom and when staging it.
• I gently take the bract off from the back of the “flower stem”
• Then I gently dust the area where the bract has come away from with
sulphur.
Stage 2 taking off the side buds
• Using a small pair of scissors I cut the side bud off just under the
side bud itself.
• This gives me enough “bud stem” so I can pinch the end between my
fingers.
• About a week later you will find they will crystallize and fall off.
• This way it will leave no entry wound for infection.
• Now there is x2 buds either side of the main bud that’s x2 “bud stems”
to fall off each plant.
• Remember the yellow tape that I attached to the plant's cane that I
record certain info – well when I have got both “bud stem stubs” off I
just put a tick on the tag. Then I know that plant's finished with.
• This may sound like a lot of messing about but when you lose a
beautiful flower because of rot on your flower stem due to a “bud stem
stub” being left on or falling into a leaf and stem joint – then trust
me its not.

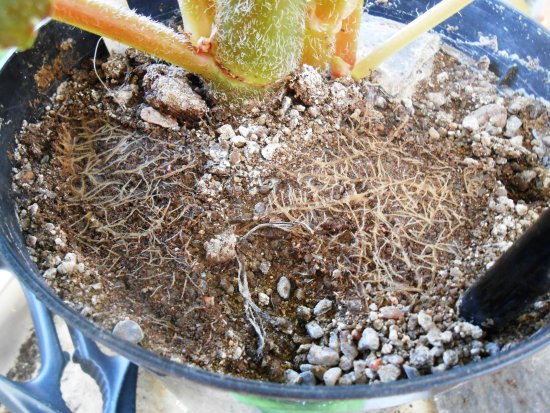
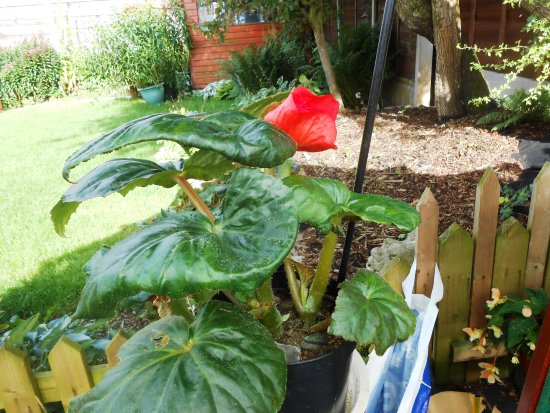
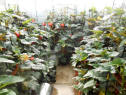
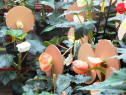
Slating
the top of your pots –
You may remember that I mentioned how I slated the top of my plants,
well if you look at the picture on the left it will perfectly illustrate
the reasoning behind it – to achieve a pot truly full of root.
Sunday
19th July -
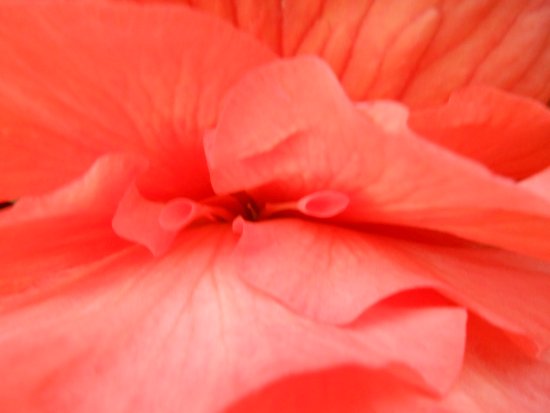
Well it’s that point in the growing year I probably hate the most –
tying the flower to the stake and placing a plate at the back of the
flower to protect the growing flower.
Backing Plates – Now I used to use the picnic style polystyrene plate,
however the other year John Hamilton stated at a meeting that the plant
/ flower that edged first in his greenhouse was a polystyrene plate backed
one. He explained how the plate had absorbed the heat so it
warmed up and in turn
 transferred the heat to the flower resulting in it
edging and going over a lot earlier.
transferred the heat to the flower resulting in it
edging and going over a lot earlier.
So this year I have been getting some 2ply heavy duty
cardboard boxes from work and gradually over the year I have been
cutting 10 inch discs out with a slot in the middle to slip down the
back of the flower and over the flower stem, they also have no real
weight to them either..
Problems that can occur –
However I have encountered these certain traits that I have the
following “pet” names for - from the following varieties that could
result in you having to re-stake your plant at a later date –
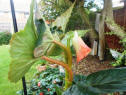
 • Reach for the stars (see picture to the left) - flower bud grows
upwards pointing at the sky so the flower sort of lays flat across the
top of the flower this can pose problems when trying to get the plate
behind the flower. This means a tall support is no use as I have found
there is not enough room to get the “plate” around the flower so I
remove it and just replace it with a support that stops below the flower
and just tie it to the stem as normal.
• Reach for the stars (see picture to the left) - flower bud grows
upwards pointing at the sky so the flower sort of lays flat across the
top of the flower this can pose problems when trying to get the plate
behind the flower. This means a tall support is no use as I have found
there is not enough room to get the “plate” around the flower so I
remove it and just replace it with a support that stops below the flower
and just tie it to the stem as normal.
Varieties that I have suffered
this issue with – Symestar and Tom Brownlee.
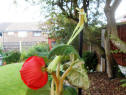
• The sideway look (see picture to the right) - can grow a normal flower
so to speak but what it has done is thrown a bud to the side, so you
have to untie your plant from its stake and put the stake to the side of
the plant and tie your plant and the flower to the stake / cane .
Varieties that I have suffered this issue with – Yellow Bali Hi and Ruby
Young.
 •
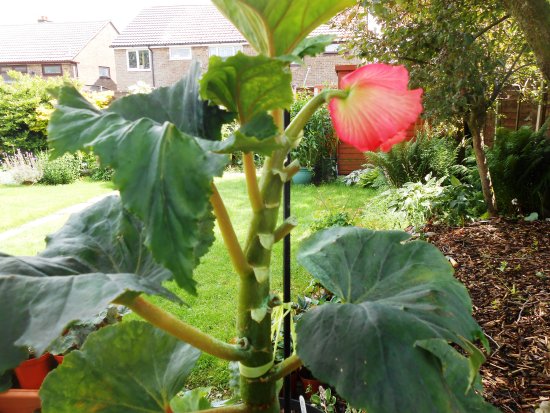
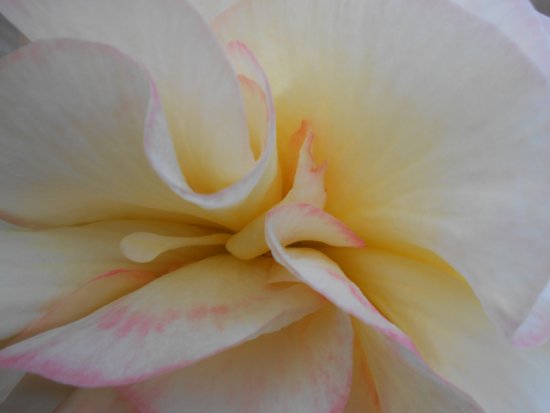
The swan neck (see pictures to the left and right) - flower grows tight
up to the plant itself so you have to be more careful than normal when
trying to get a plate at the back of the flower. This is because a plant
“slightly” closes
•
The swan neck (see pictures to the left and right) - flower grows tight
up to the plant itself so you have to be more careful than normal when
trying to get a plate at the back of the flower. This is because a plant
“slightly” closes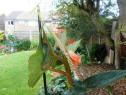 up at night and if the “plate” is too tight between
the flower and the leaves the opening oyster or flower can be pushed off
and you will find it lying on the floor the following day.
up at night and if the “plate” is too tight between
the flower and the leaves the opening oyster or flower can be pushed off
and you will find it lying on the floor the following day.
Varieties
that I have suffered this issue with - Fair Maid of Perth.
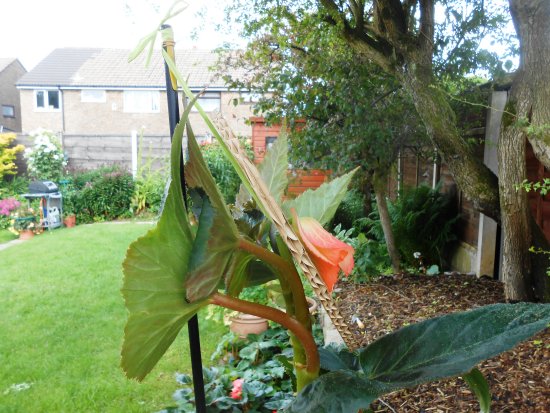
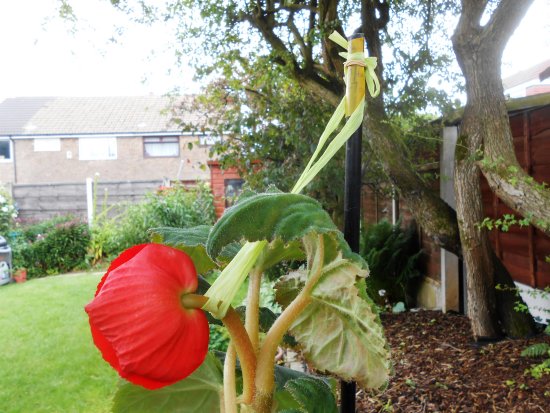
• Floppy head (see picture to the left) - has a long flower stem so the
flower
 droops right over, so if you just leave it with the “plate” on 9
times out of 10 you will see it has been resting on the front edges of
the petals resulting in damage or marking. I get a cane that’s approximately
about a foot taller than the flower and wrap a rubber band around the cane
about an inch from the top. Now if you get a piece of your chosen
type of “ribbon” put it under the flower stem as close as you can to the
flower and gently pull the flower up so it’s nearly vertical then tie
it off with a figure of eight just above the rubber band. The rubber
band will stop the “tie” slipping down.
droops right over, so if you just leave it with the “plate” on 9
times out of 10 you will see it has been resting on the front edges of
the petals resulting in damage or marking. I get a cane that’s approximately
about a foot taller than the flower and wrap a rubber band around the cane
about an inch from the top. Now if you get a piece of your chosen
type of “ribbon” put it under the flower stem as close as you can to the
flower and gently pull the flower up so it’s nearly vertical then tie
it off with a figure of eight just above the rubber band. The rubber
band will stop the “tie” slipping down.
Varieties that I have suffered
this issue with – Linda Jackson.
Then you may encounter the following issue –
• Head turner - (see picture on the right) - There is a 2% chance that
your flower will face the wrong
 way so it literally points backwards.
Therefore
you have to re-stake your flower so the stake is behind the flower, I
have before now also put a smaller stake in front of the flower but low
enough not to get in the way of the developing flower and protective
plate. Then just tie it to the bottom half of the stem and this will
help support the stem a little more since it’s been grown supported the
other way.
way so it literally points backwards.
Therefore
you have to re-stake your flower so the stake is behind the flower, I
have before now also put a smaller stake in front of the flower but low
enough not to get in the way of the developing flower and protective
plate. Then just tie it to the bottom half of the stem and this will
help support the stem a little more since it’s been grown supported the
other way.
Varieties that I have suffered this issue with – Tom
Brownlee.

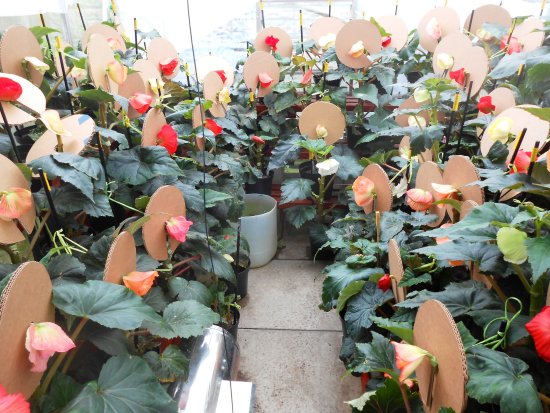
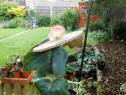
As you can see from the picture on the left all my plants for the
National have now been plated and it’s just a case of sitting back with
fear and hope, to watch them grow.
Feeding programme since taking the bud -
From taking the bud until approx. 30 days I have alternated between
• plain water
• Chempak 4 at half strength
From 30 days to 8 days
• Chempak 4 at half strength at every watering
That’s it, nothing more and nothing less
Southport
flowers update
 Wednesday
22nd July –
Wednesday
22nd July –
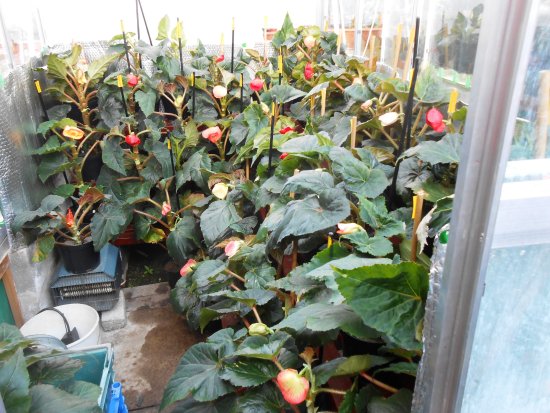
All my plants that I have aimed for Southport to try and give Terry
Tasker a run for his money have had their side buds removed ( as you can
see by the picture on the Left).
General
Cuttings update –
Would you believe me if I told you I have watered my cuttings that I
“throw” outside only twice since the start of June!!! That’s how wet
it’s been, apart from a couple of scorchers we have had.
I keep going through them rubbing out any side shoots with the intention
of trying to force it to think that the only way it will survive is by
making a tuber.
My cuttings are looking well, however until the end of the year I will
not know what is happening with regards “tuber production” so to say.
Contentious Corner –
Issue 8 - (Another way I buck the trend trying to grow a “big flower”)
When do you use Mono-Ammonium Phosphate N:12 P:61 K:0 !!!!!
MAP is recommended for use at the beginning of the growing season,
because phosphorus availability is crucial for the establishment of root
system at this stage it also initiations bud formation.
Again after a little research I can find no reason why it should be used
in the “flower feeding program”.
So basically I do not use it as I cannot find any benefit to feeding the
actual flower.
However Mono-Ammonium Phosphate could be used earlier in the year to get
root in your pot and to start the initiation of the bud.
Wednesday 5th August - Disaster
I did promise I would be honest with what I did during this year
including the highs and lows –
I have grown arguably the best plants I have ever grown and had the best
looking buds and they even looked fantastic when the oyster opened.
Then my world fell apart I have never experienced so many faults
including some I hardly ever

 experience like – loop petals, a sort of mis-formed petal causing holes in the side of the blooms to name but a
few.
experience like – loop petals, a sort of mis-formed petal causing holes in the side of the blooms to name but a
few.
I have another 10 days to go so it’s going to be a long 10 days.
Until next
time…